AWS Custom Node.js OIDC Provider Server on Heroku
example of a custom nodejs OIDC provider server running on heroku for use as a custom AWS OIDC identity provider.
- Uses the node-oidc-provider npm package.
- based on node-oidc-provider-example/00-oidc-minimal/README.md
Demo Overview
- User logs into a web app with any username and password
- It returns an
id_token(JWT) in the URL - The
id_tokenis used in the AWS STSassume-role-with-web-identitycall to get temporary credentials which can be used to access AWS services
Deploy OIDC Server to Heroku
If git not initialized, init it
git initCreate a heroku app
heroku create --addons securekey,heroku-redis:hobby-dev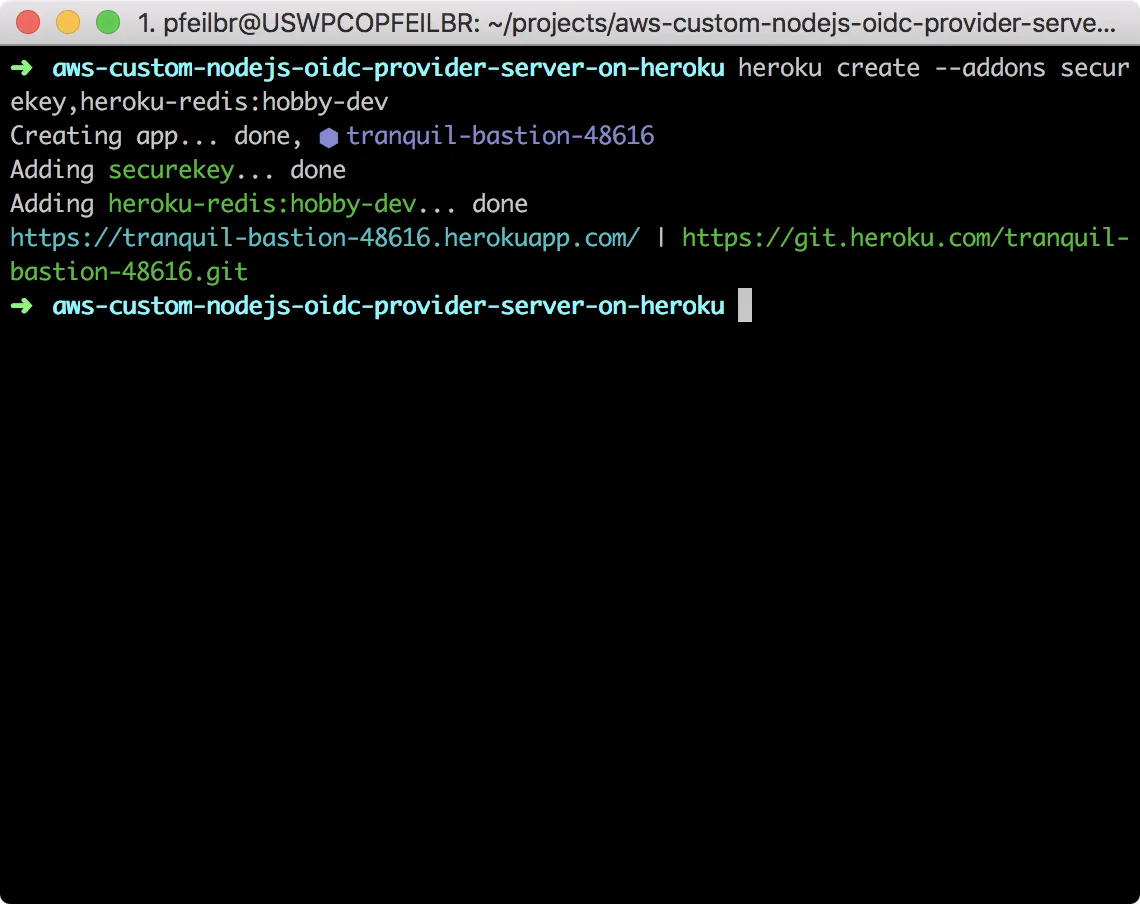
Enable (experimental) runtime-dyno-metadata
heroku labs:enable runtime-dyno-metadata
Commit to your local repo
git add .
git commit -a -m 'my initial commit'
Deploy to heroku
git push heroku mastersee your openid-configuration
heroku open '/.well-known/openid-configuration' # to see your openid-configuration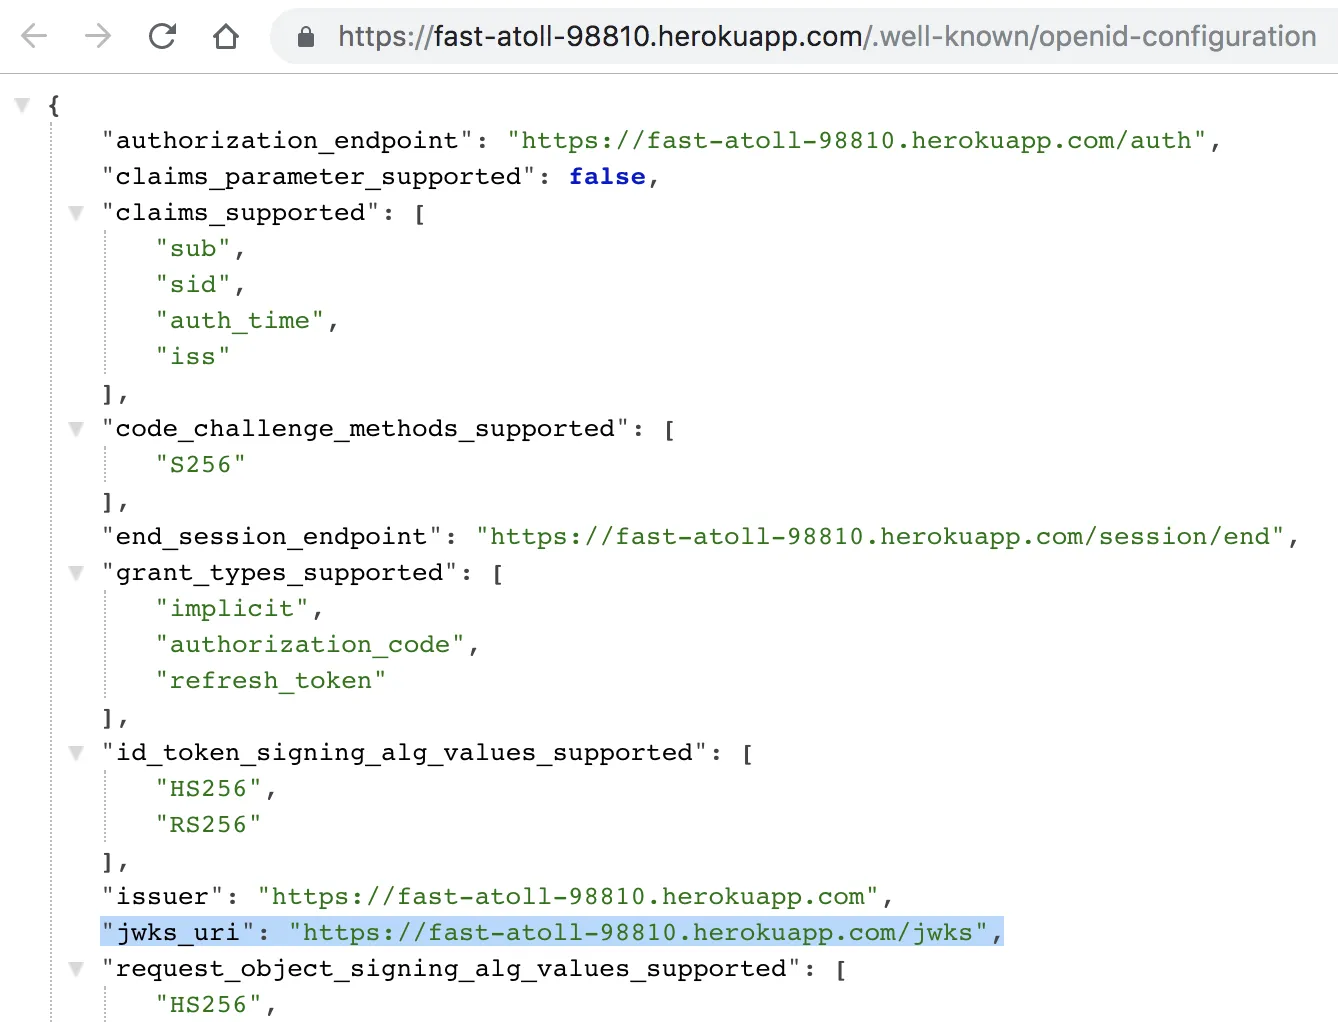
Create OIDC Identity Provider in AWS Console
Visit IAM | Identity providers
Click
[Create Provider]buttonEnter
Provider Type: "OpenID Connect"

# base URL of server
Provider URL: https://fast-atoll-98810.herokuapp.com

# this should match `client_id` in `src/index.js`
Audience: foo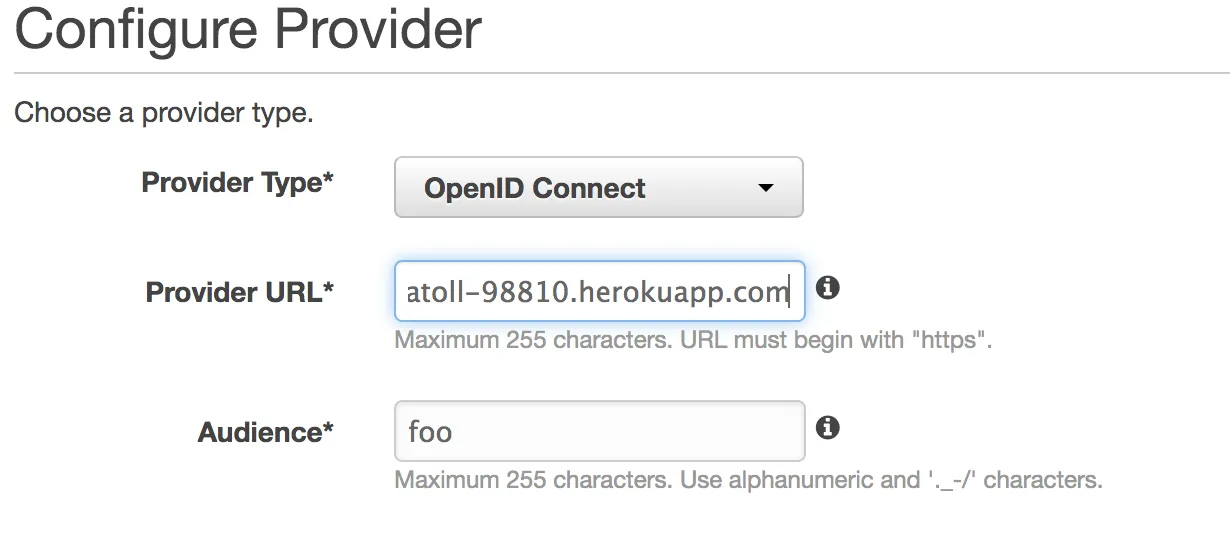
Click
[Next]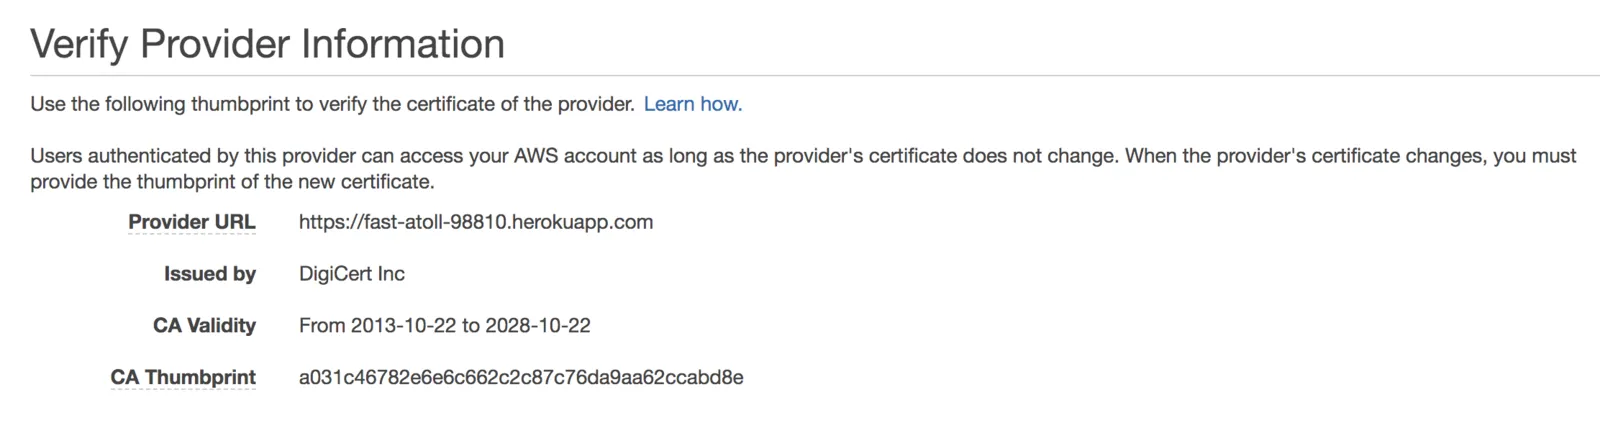
Click
[Create]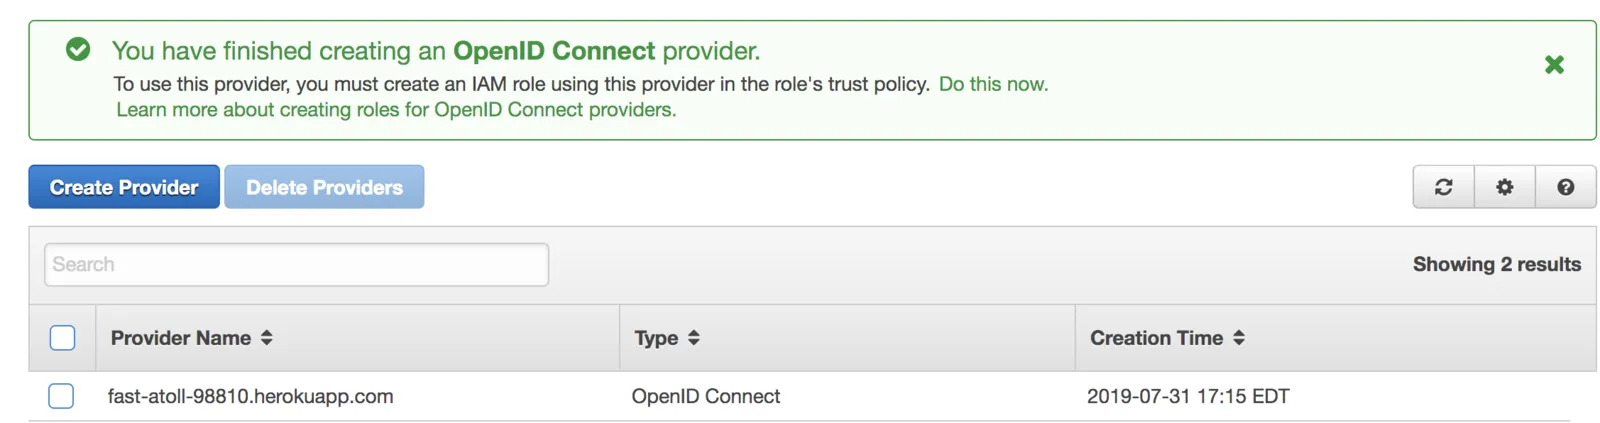
Visit IAM | Roles and click
[Create Role]buttonSelect
Web Identityand select theIdentity providerandAudienceyou specified in previous steps.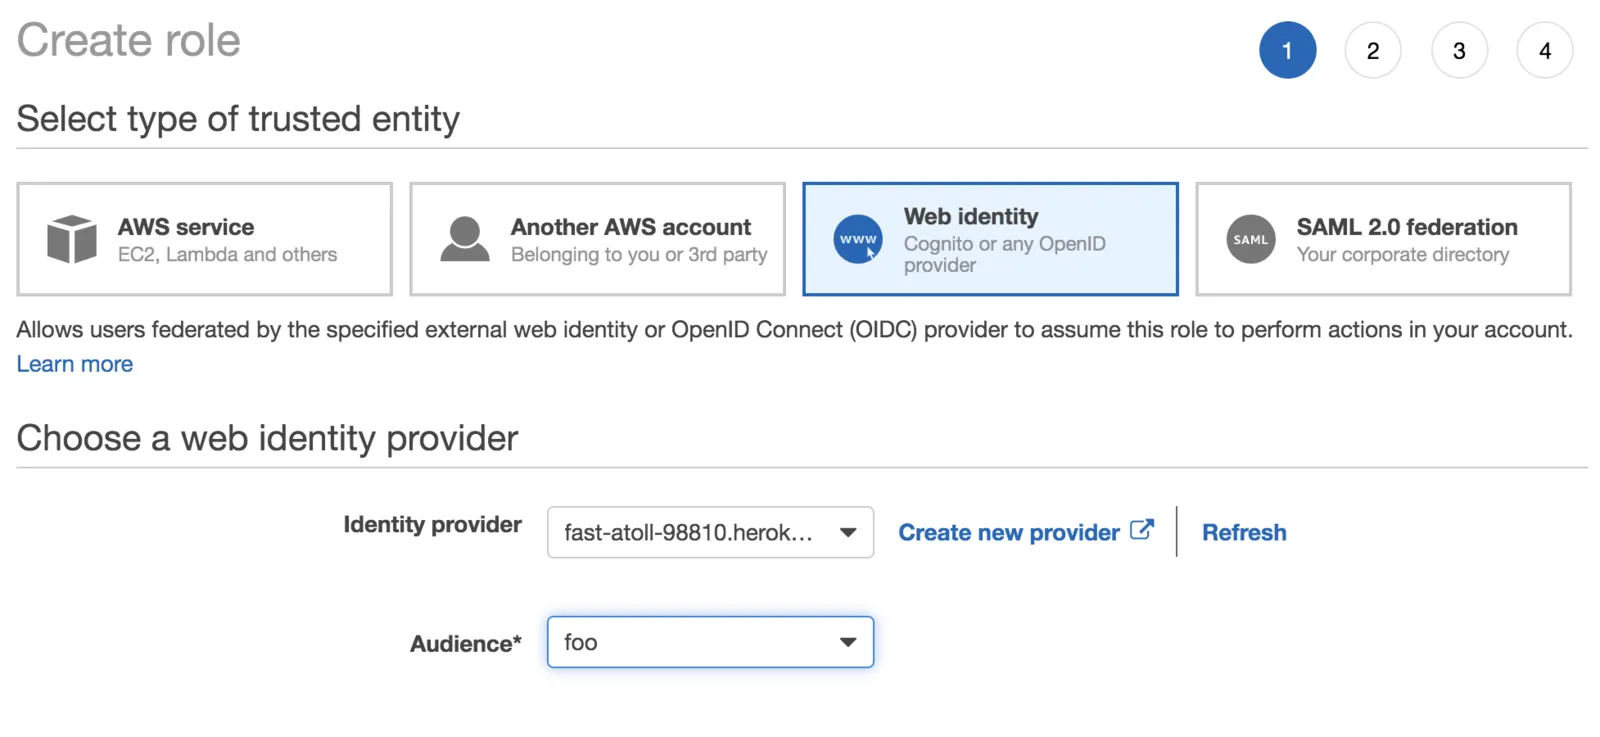
Specify permissions
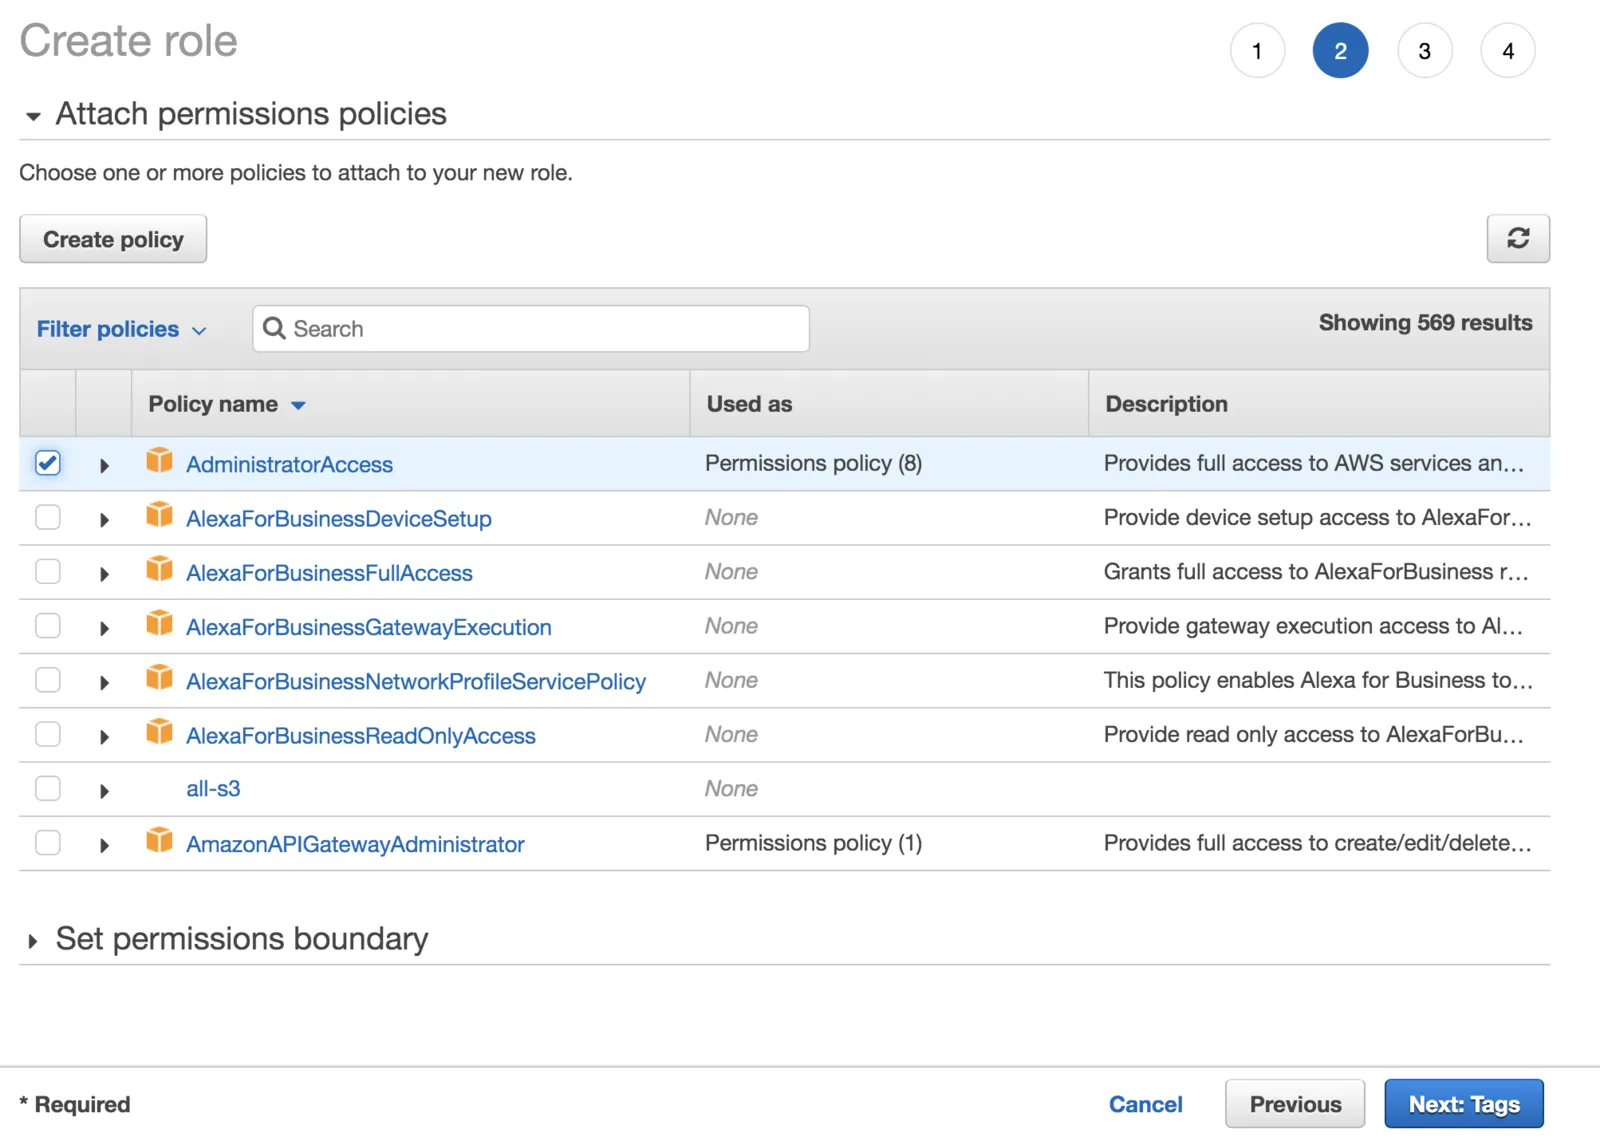
Give the role a name (e.g.
custom-oidc-role-example-01) note role ARN. e.g.arn:aws:iam::529276214230:role/custom-oidc-role-example-01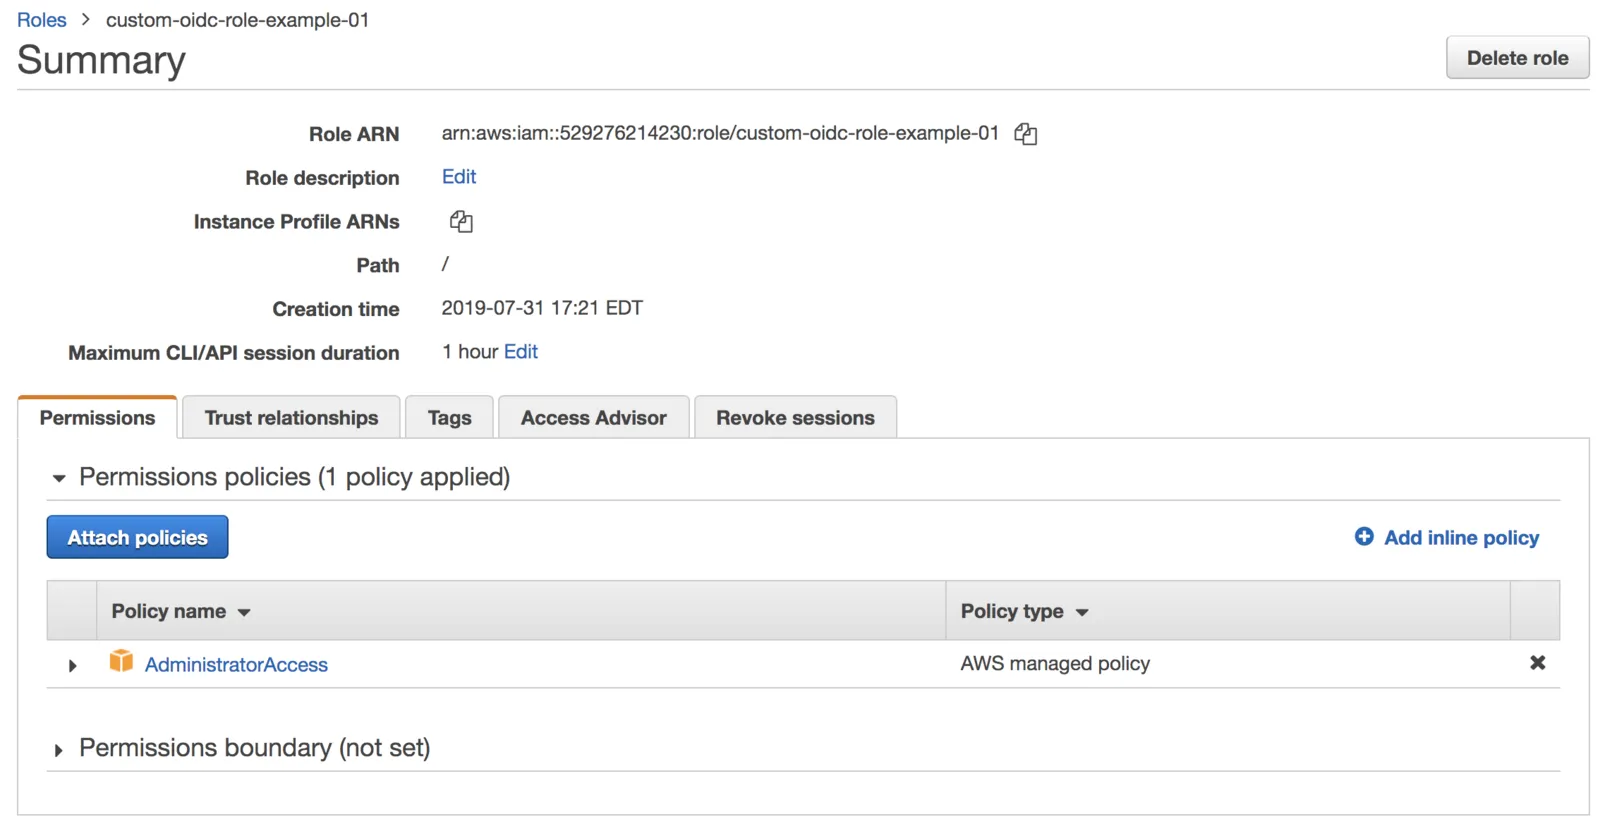
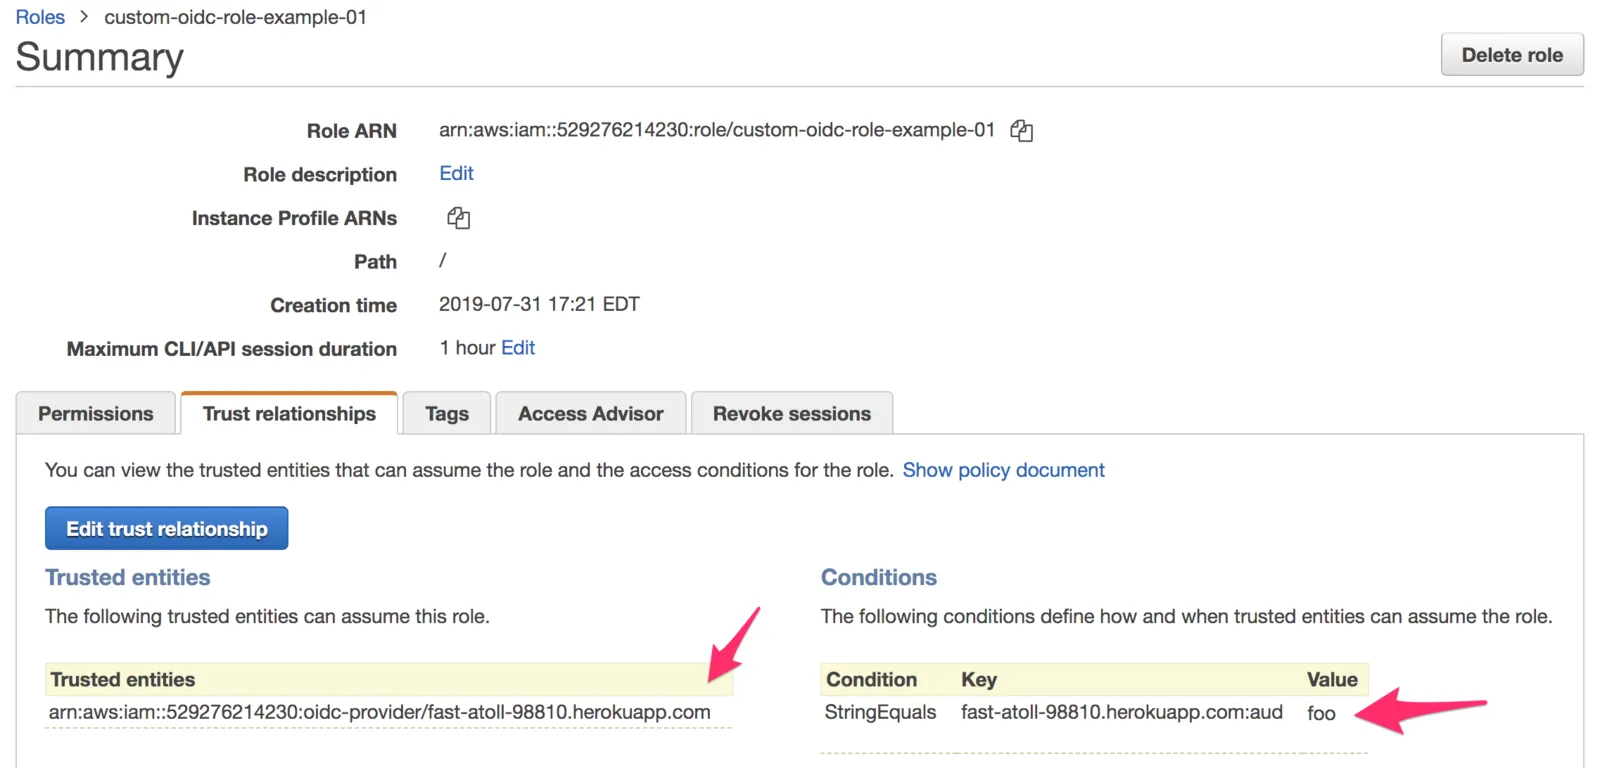
Login to Custom App and Get Temporary Security Credentials via assume-role-with-web-identity
Visit login URL and enter any username and password
heroku open '/auth?client_id=foo&response_type=id_token&scope=openid&nonce=123'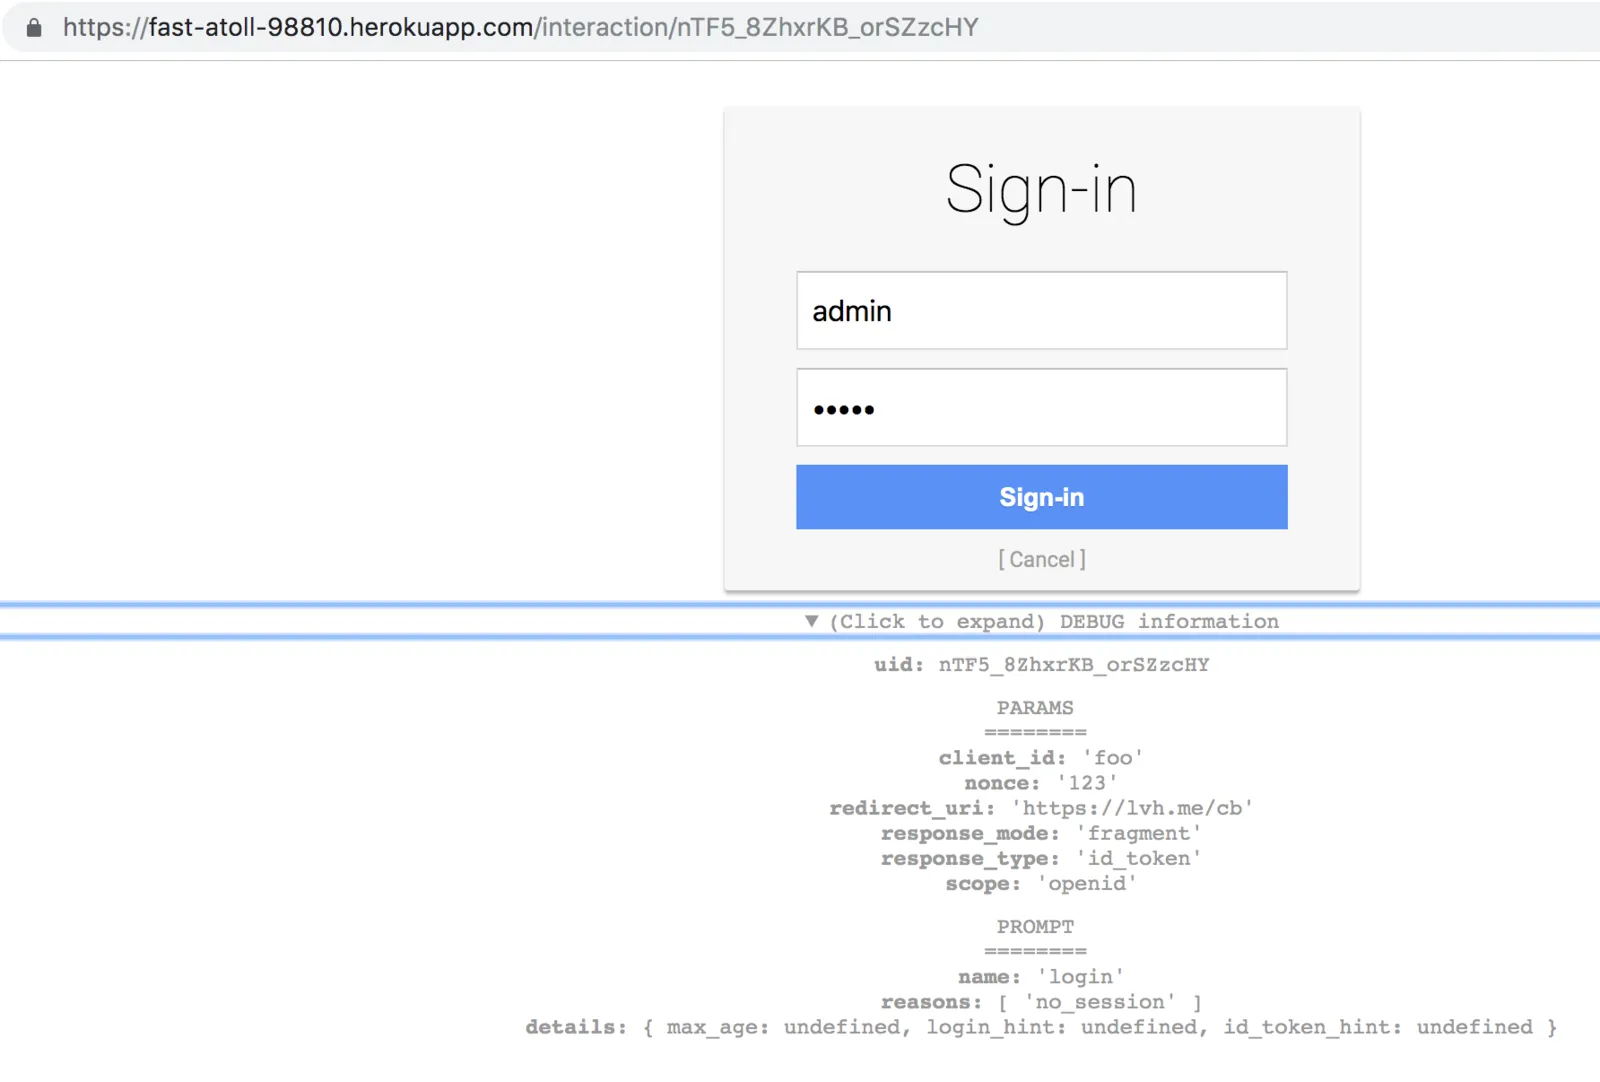
Click
[Sign-in]button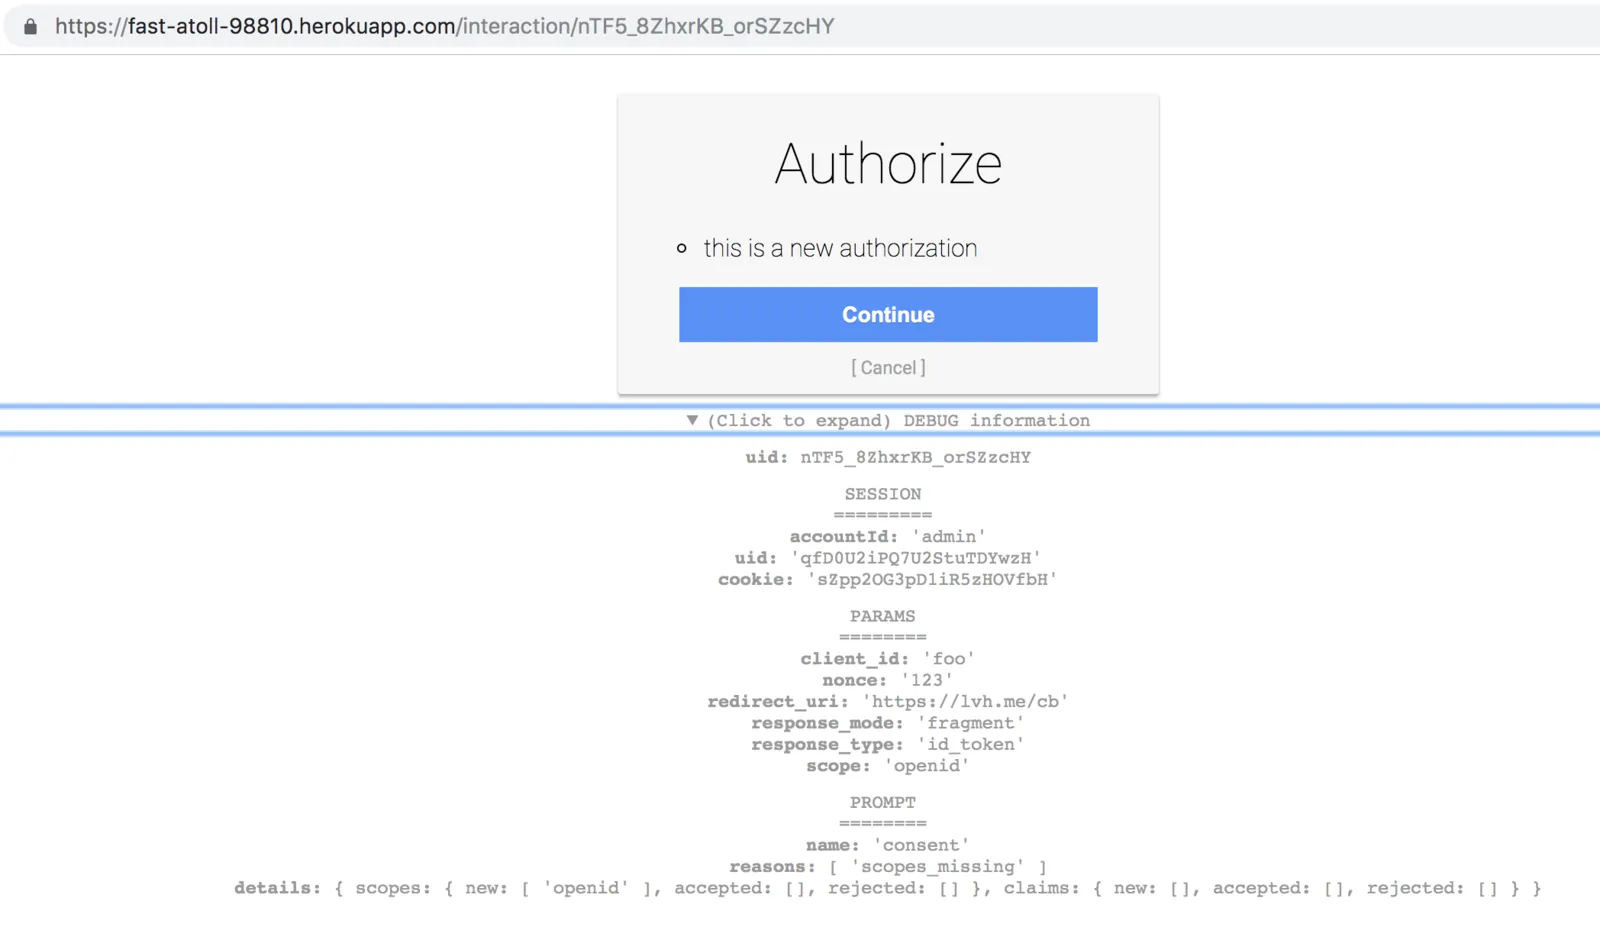
Click
[Continue]buttonnote the
id_tokenin the URL. This is the JWT Token we pass toassume-role-with-web-identity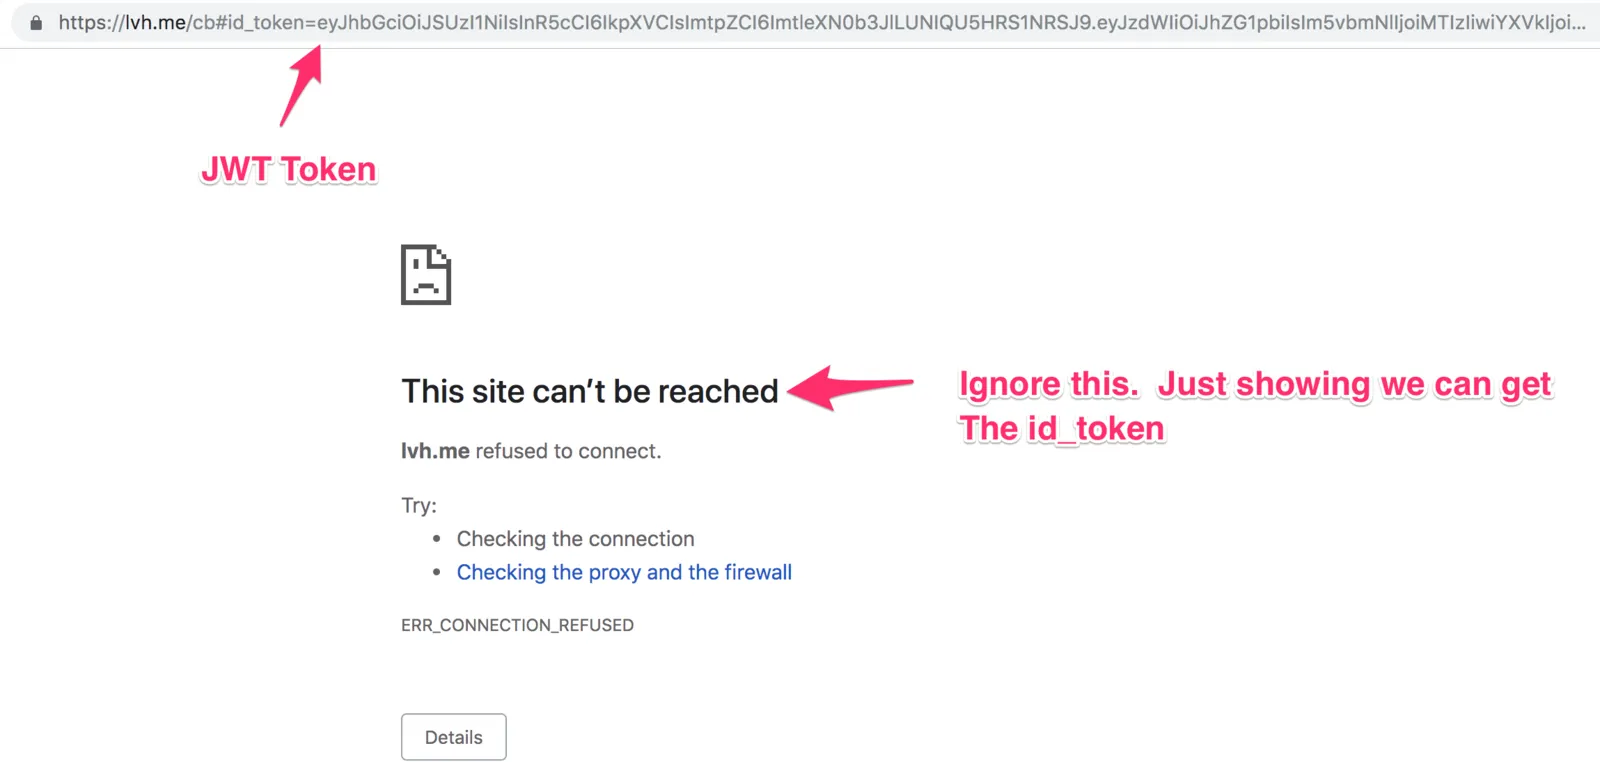
Call
assume-role-with-web-identitywith role-arn, role-session-name (can be anything), and web-identity-token (id_tokenfrom step above)aws sts assume-role-with-web-identity \ --role-arn 'arn:aws:iam::529276214230:role/custom-oidc-role-example-01' \ --role-session-name 'user01' \ --web-identity-token '<id_token>'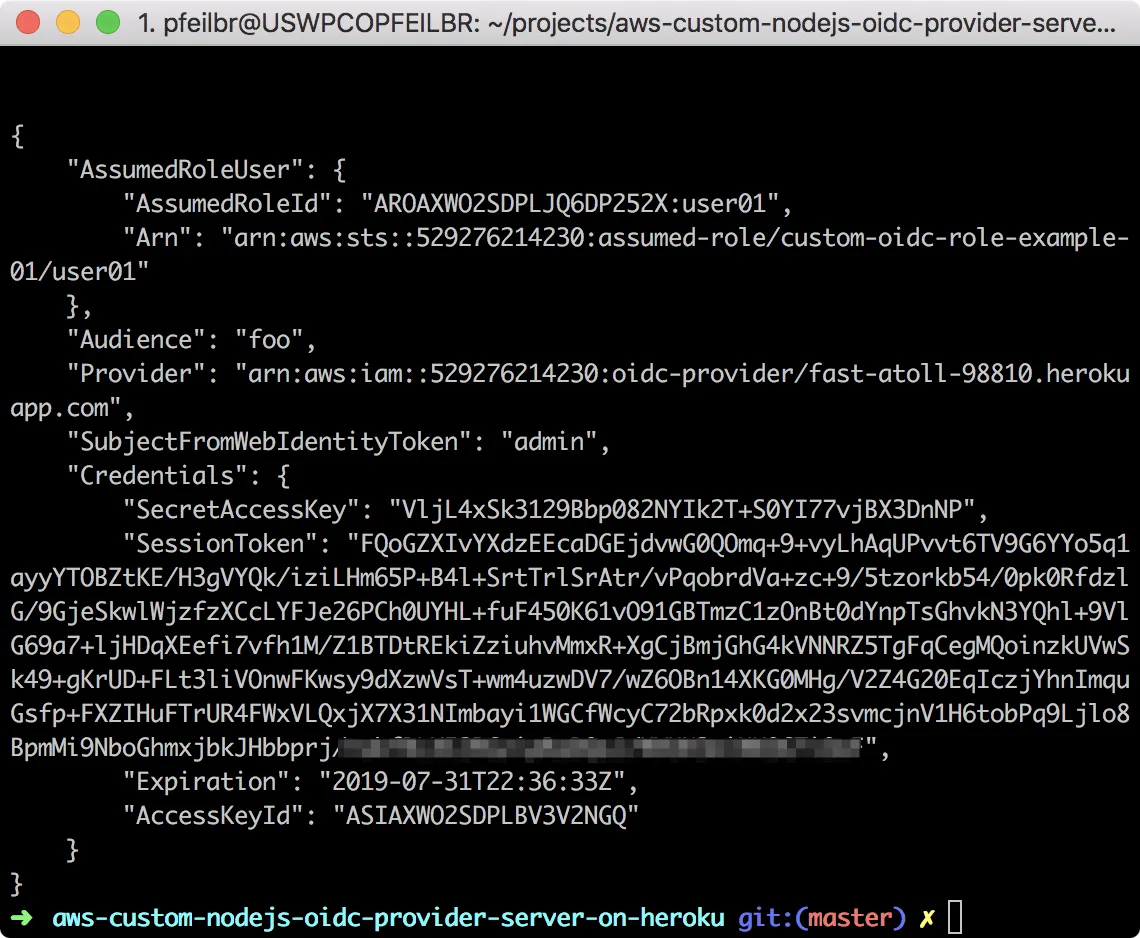
You can now use
AccessKeyId,SecretAccessKey, andSessionTokenin the response to access AWS services with the permissions provided by thecustom-oidc-role-example-01roleAs an example, see Creating a URL that Enables Federated Users to Access the AWS Management Console (Custom Federation Broker)
To programmatically create URL, see Example Code Using Python